Pablo’s Bench

Pablo’s Bench teaches the maker a wide range of techniques that are used
throughout making furniture. It is designed with the bare minimum of material
yet a long lasting life for the user.
2x Planks of un-planed Pine (950 x 150 x 40 mm) for the tops
4x Dowel of Pine (450 x 36 mm) for the legs
2x Strips of un-planed Pine (710 x 35 x 24 mm) for the under frame
1x Pablo, to sit on the bench
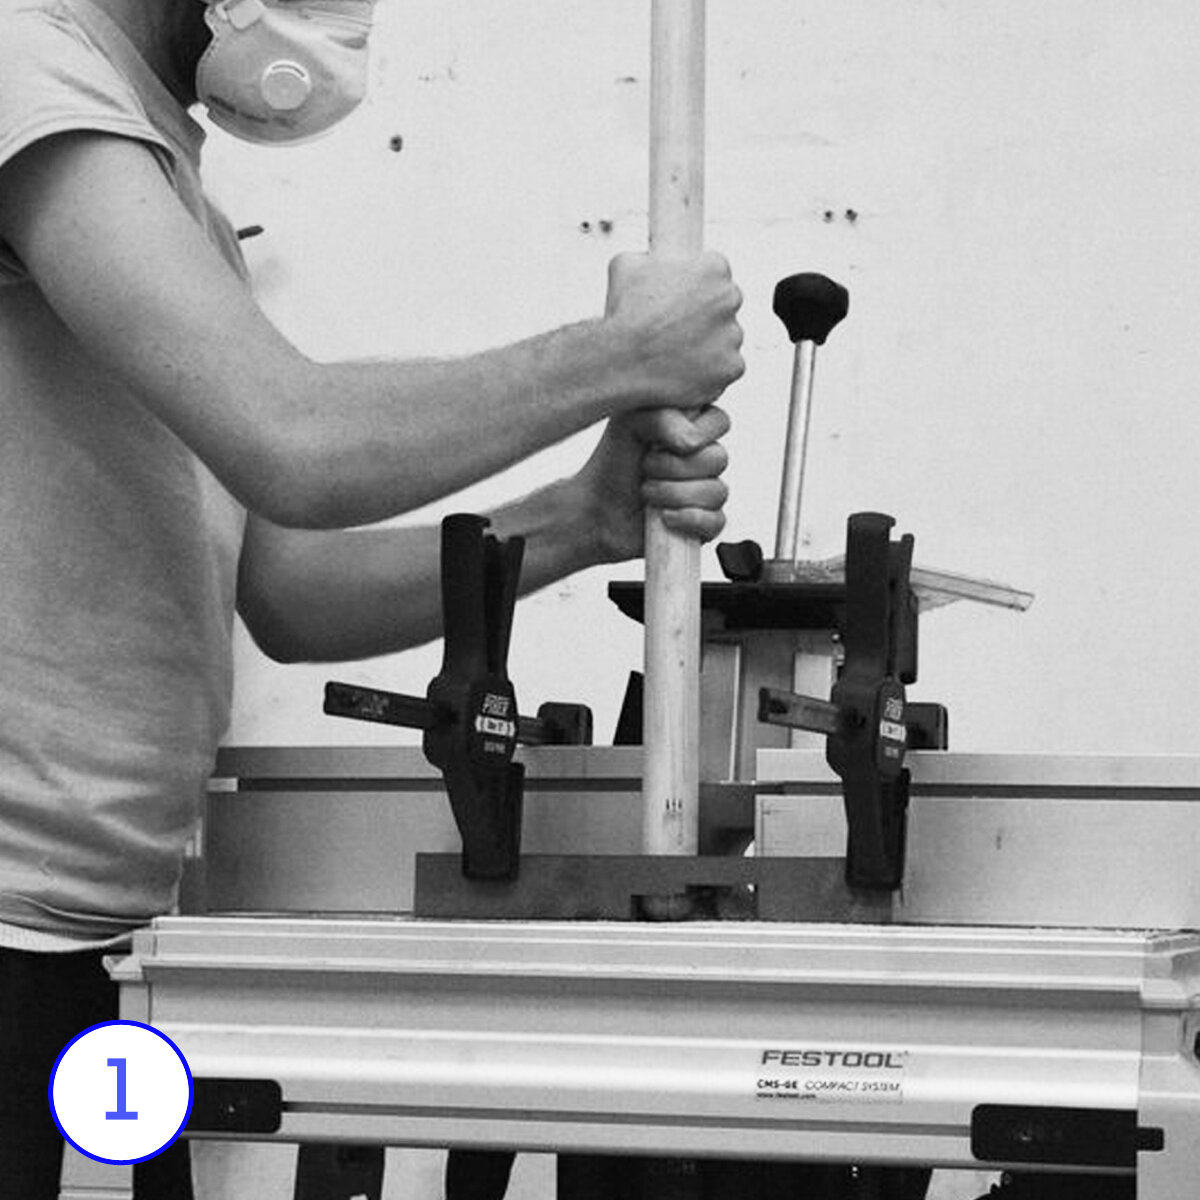
1. Cutting the legs into four from a 3 meter stick of dowel meant there was excess for error. Knowing this, Pablo used a jig tom route the end of one side of the dowel. This would be the bottom of the legs. The rotation of the dowel into the jig was easy to burn or overcut so it was better for him to get this correct before cutting the final length at a 7.5 degree angle.
Soap was used to ease rotation between the dowel and the jig.
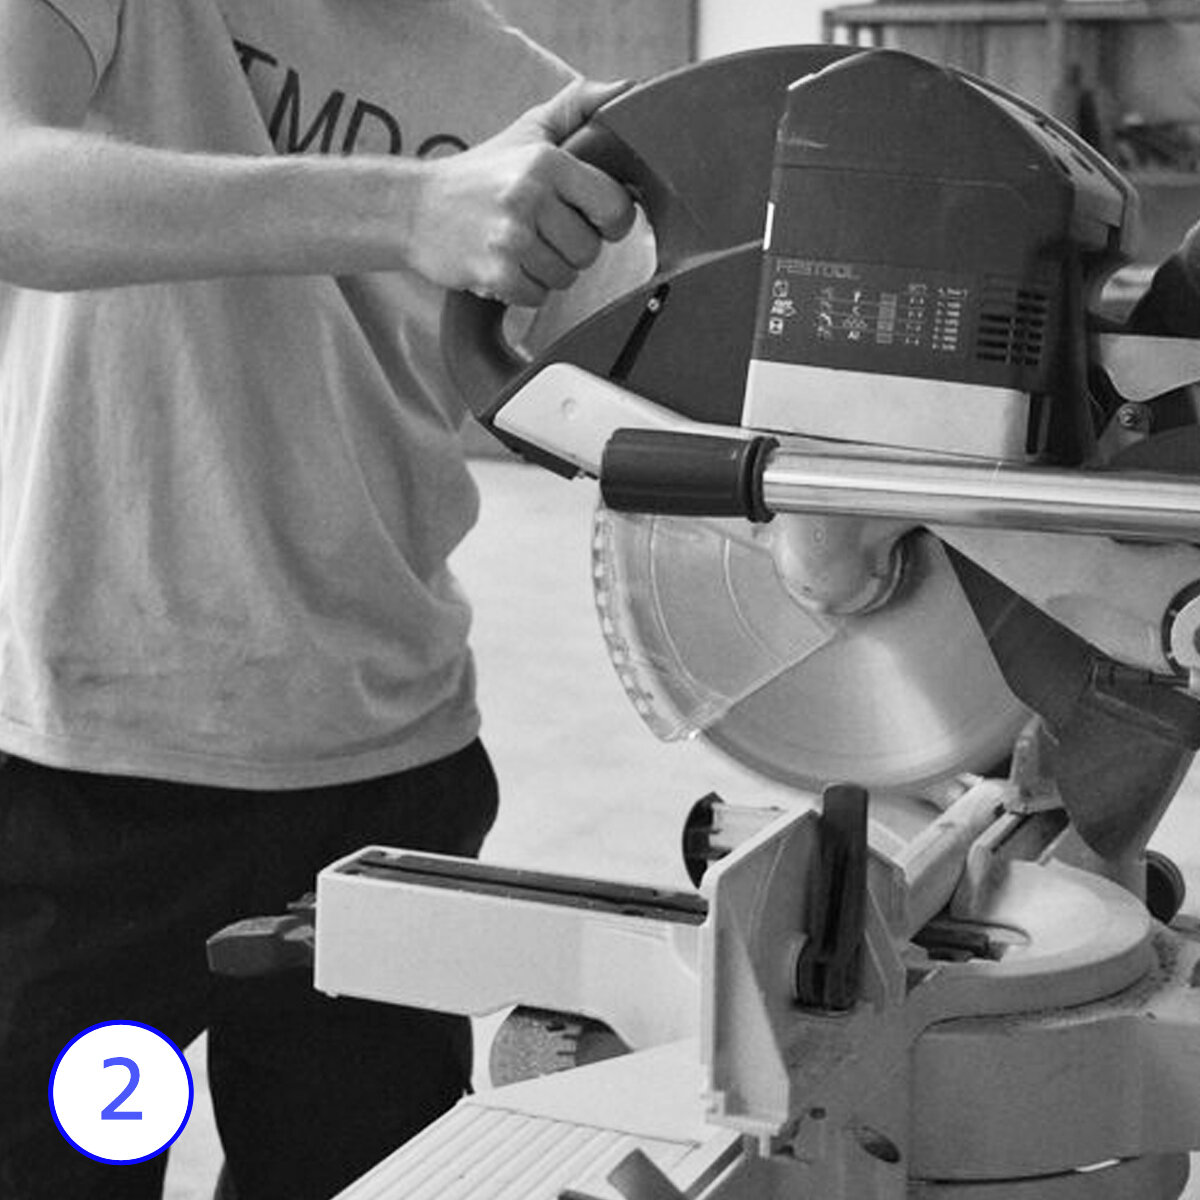
2. Clamping the dowel to the chop saw guide, Pablo marked out halfway on the dowel before cutting it a 7.5 degree angle. This half way point was an accurate guide for where he would drill and route into the dowel in the future.
Two legs had to be marked and cut on the opposite side as the support going into them under the bench top would be on the other side.
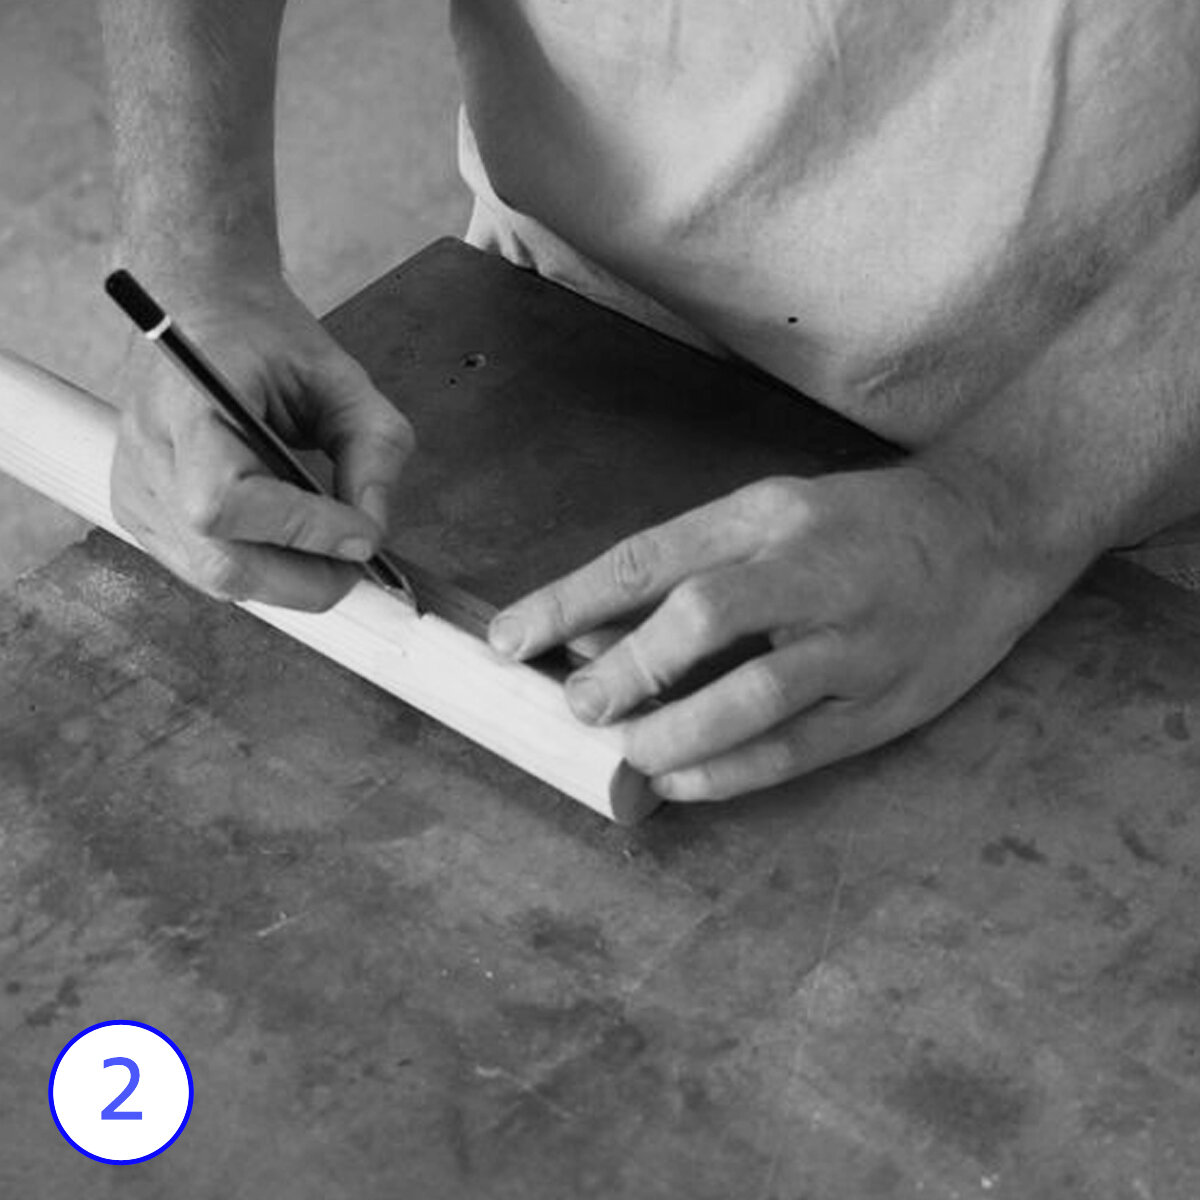
3. A jig was made to hold the dowel for drilling and for routing. The waste dowel was used to hold the leg in place and an extra block parallel to for a guide for the router.
Before drilling Pablo marcked out where he should drill and made sure they were inline.
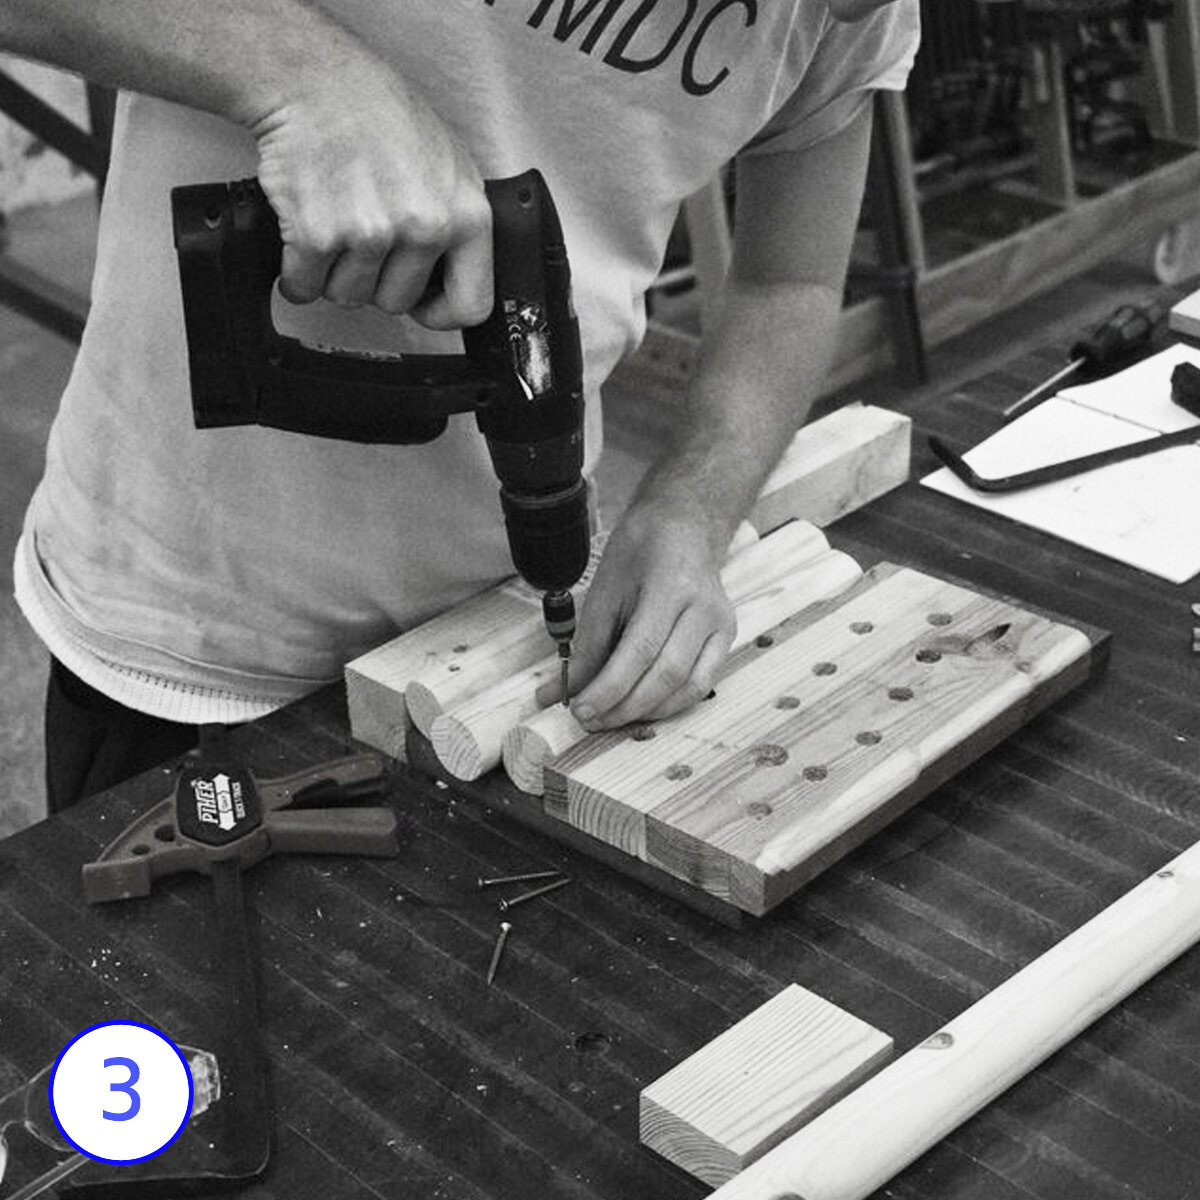
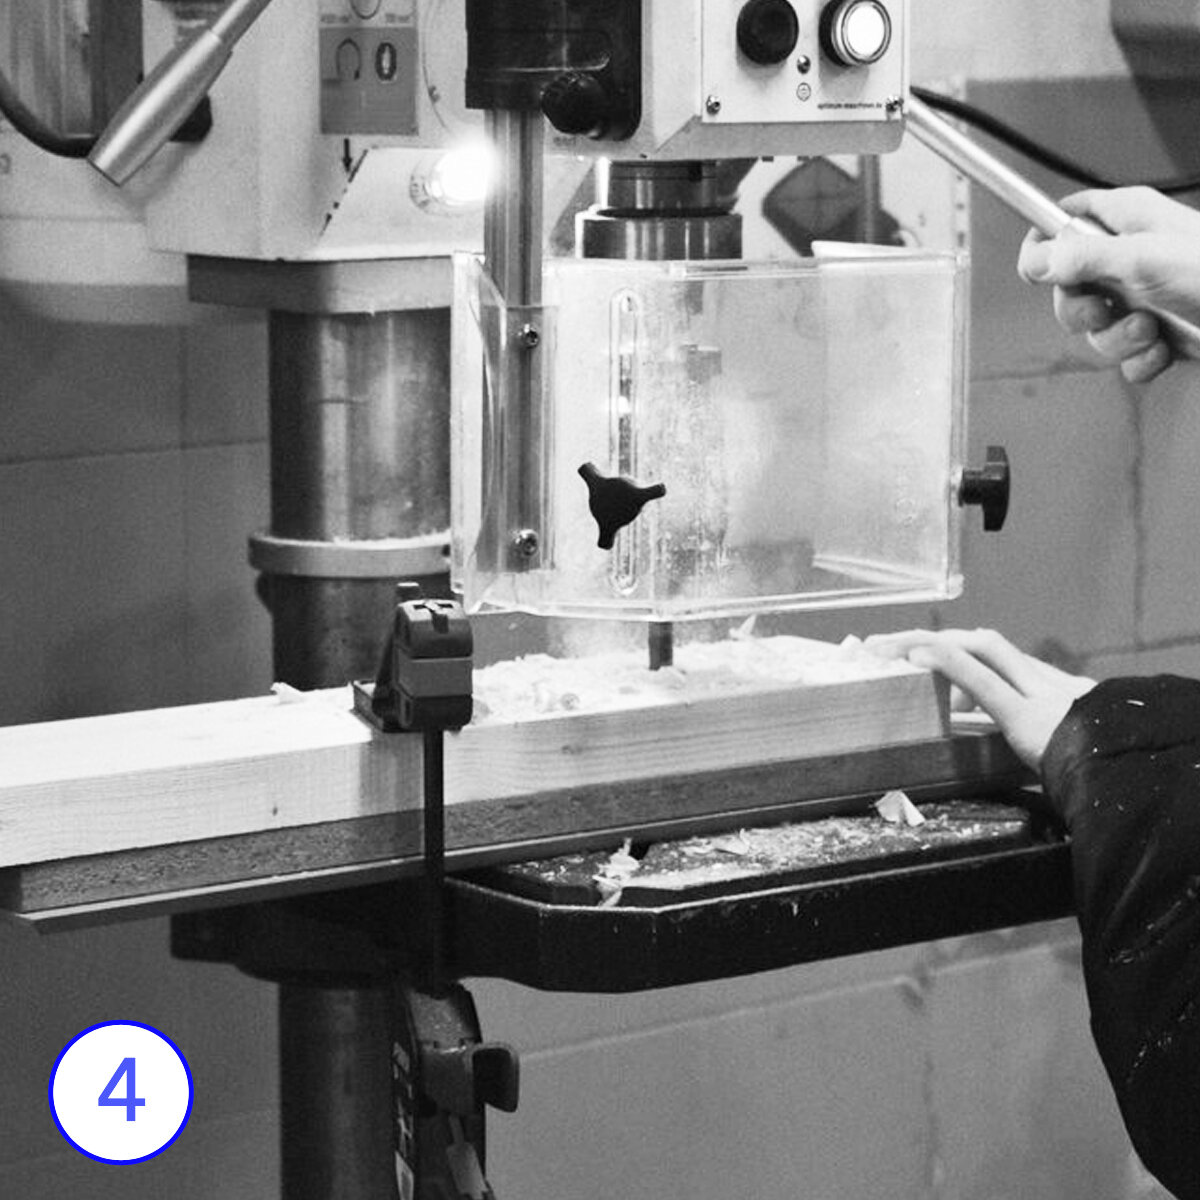
4. To set the depth, Pablo used masking tape on the drill bit to mark the depth. A drill bit slightly smaller than the router bit was used to drill at each point marcked. This was to ensure a cleaner finish when using the router.
Sliding the leg through the jig meant saving time on setting up to drill and more accurate holes being made.
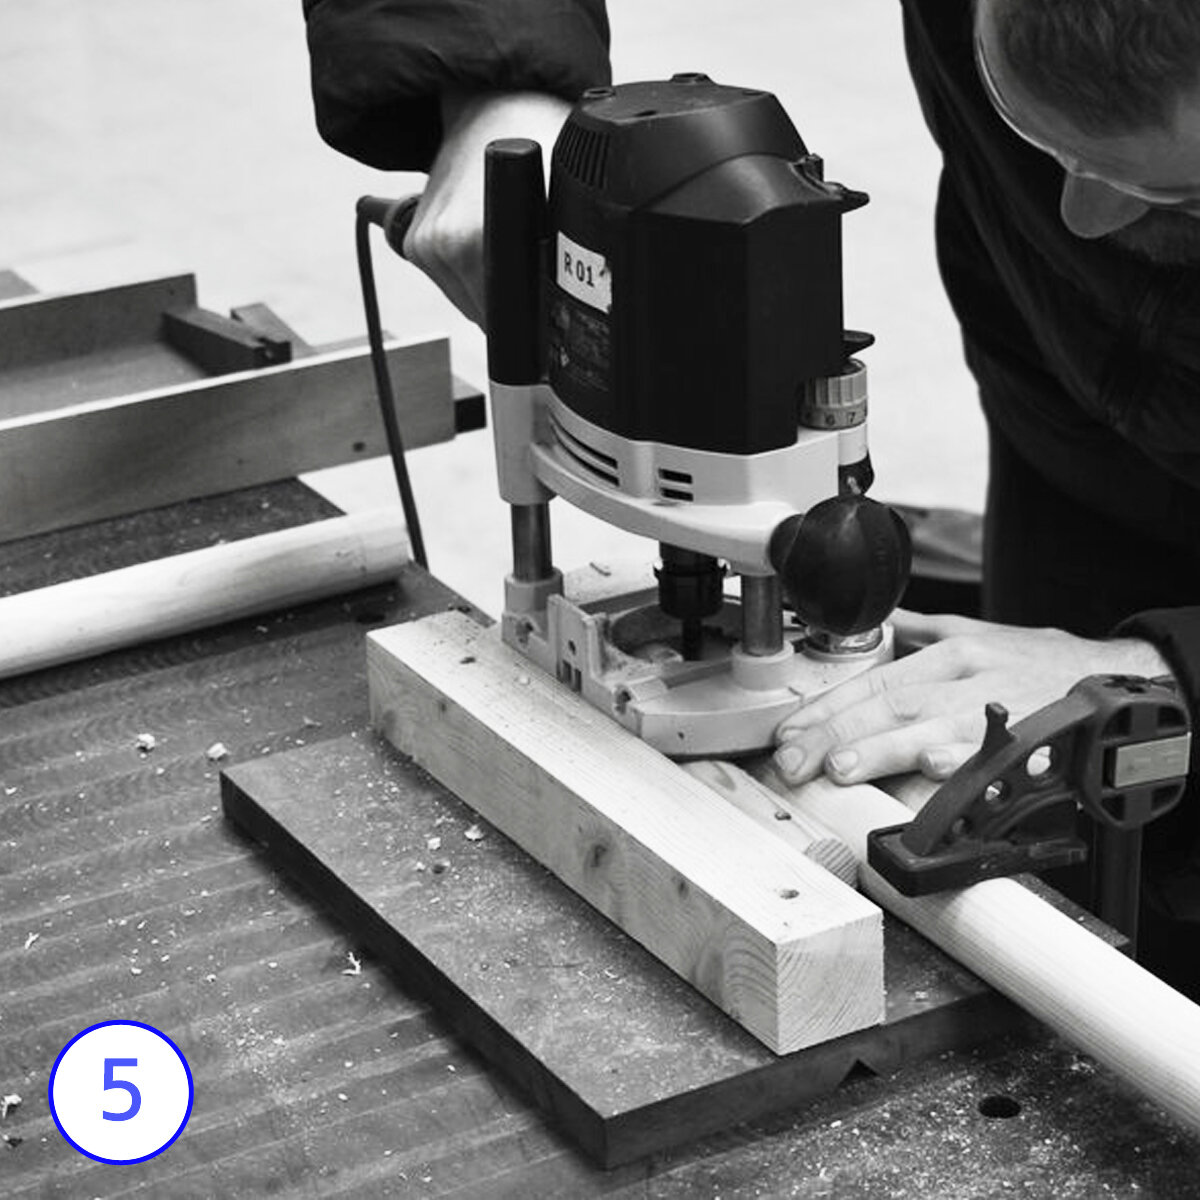
5. Using the hand router, Pablo created the area for the support wood underneath to insert into. Making sure he did not go past the points he drilled, Pablo went down and then across in stages to avoid over working the router and burning the wood. Clamping the dowel and jig to the table ensured no movement whilst routing.
6. For the top Pablo used pre plained wood so did not need to create a new square face or thickness. Using the dimensions given this could be easily done from a raw plank.
After cutting the wood to the right length, Pablo decided to leave a bit of excess on the width as he wasn’t sure how much wood would be taken off when cutting the sides to 7.5 degrees.
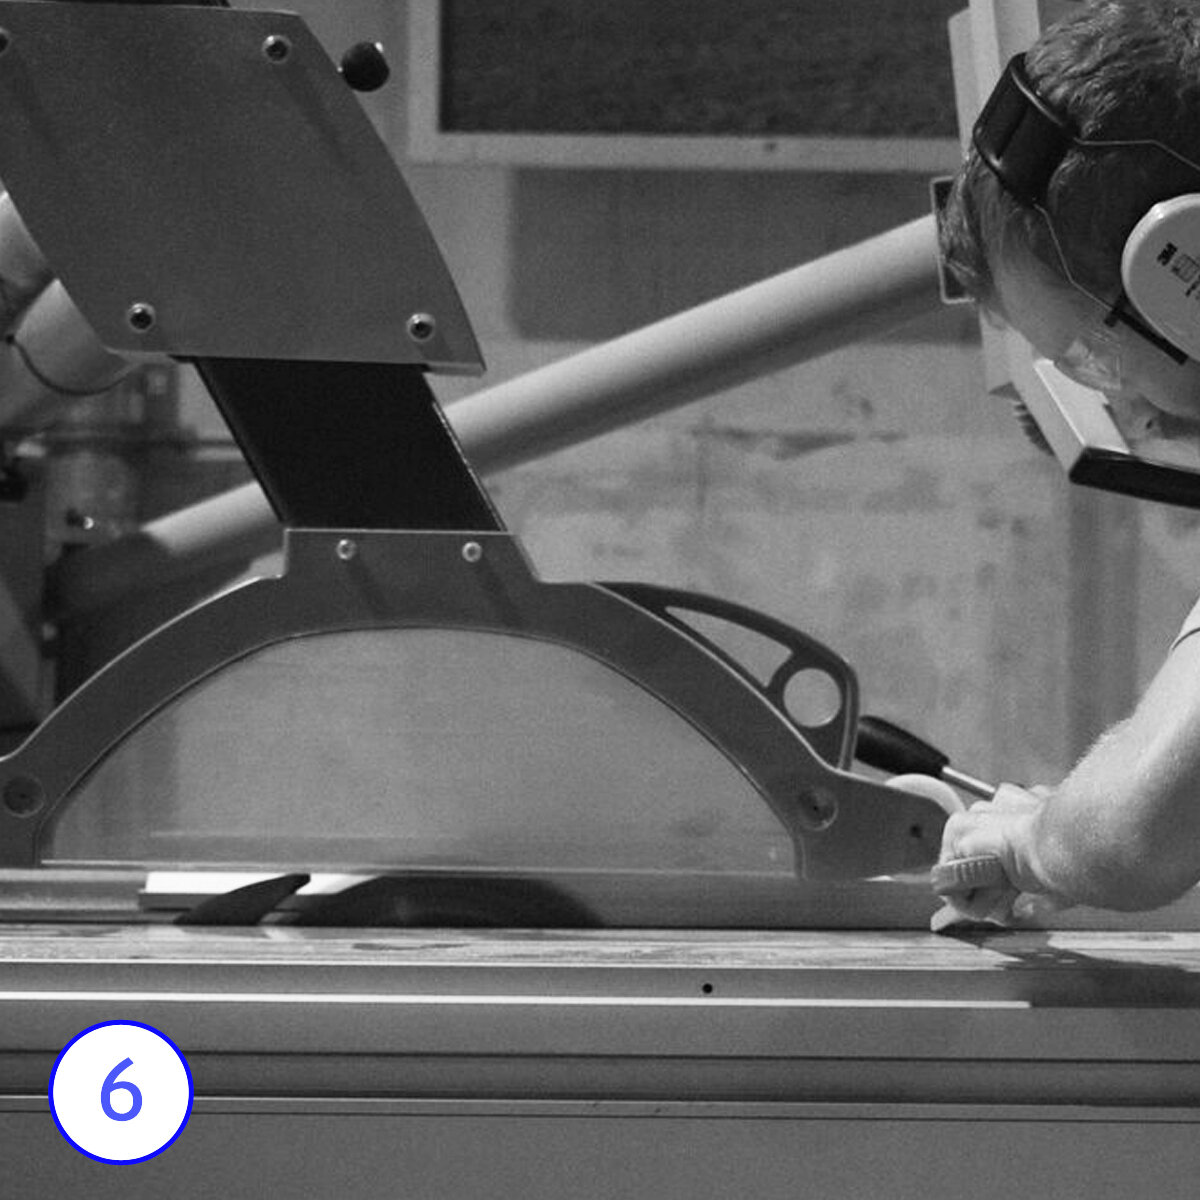
With a rough pencil sketch on the end face of the wood, Pablo cut the sides at 7.5 degrees on a table saw. He used the guide on the right hand side of the blade with the final width on.
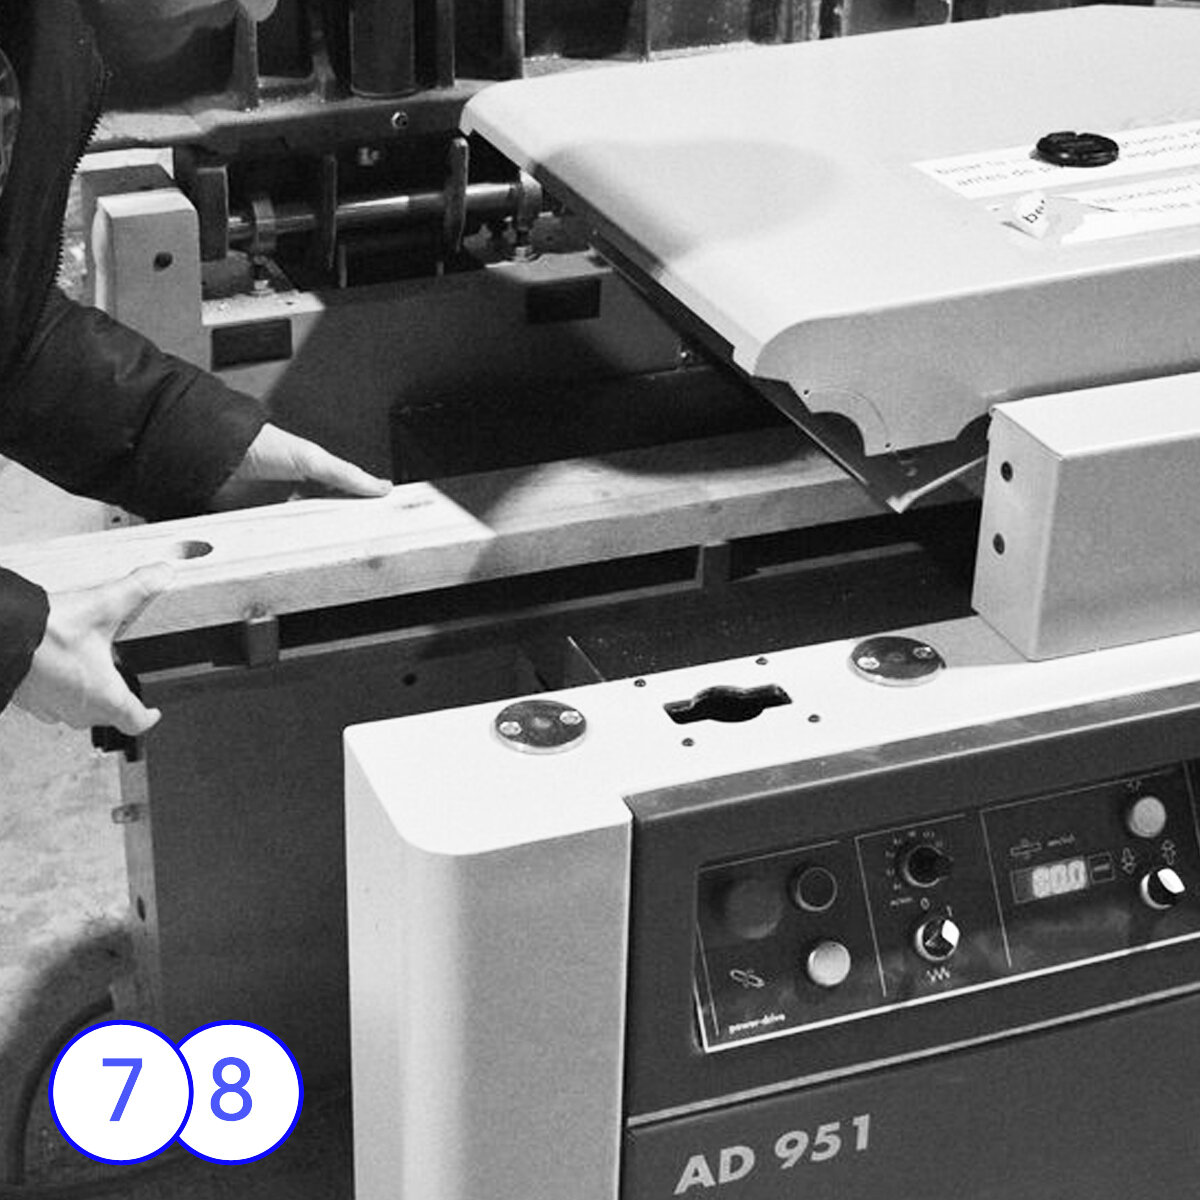
7. Using a jig, Pablo created a new base at a 7.5 degree angle. This meant the top face would be planed flat at this new angle, creating the new shape of the bench. Pablo double checked he was planing the correct face before putting it through the thicknesser.
Keeping note of the final thickness height was crucial for him as he didn’t want the two planks to be different thicknesses.
8. The final height of 66mm (including the jig height) was decided when Pablo had planed a whole new face from the original plank.
It was important that he took off around 3mm on his final run through the thicknesser to ensure a clean finish.
“The making process is simple yet diverse enough so someone with little making skills can produce one.”
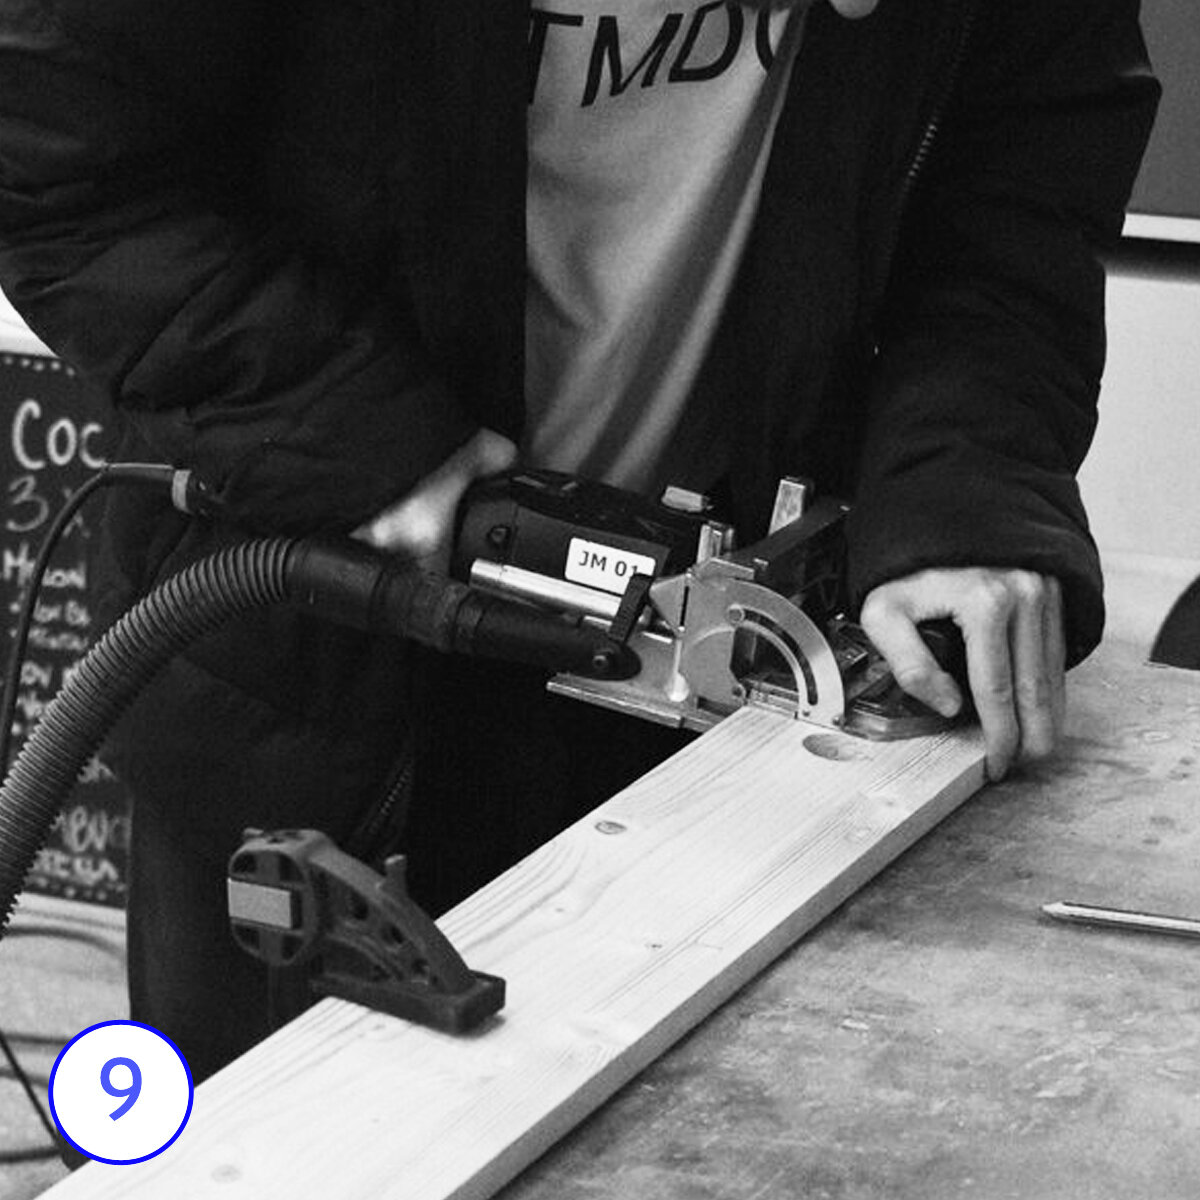
9. Once both the tops were planed Pablo used a domino jointer to attach the two together. After doing so he glued them together and sanded it down.
The two strips for the under frame were cut to length. This length meaning they would sit inside the legs, fixing them in a set place to go into the top.
The under frame would also prevent the legs from going all the way through.
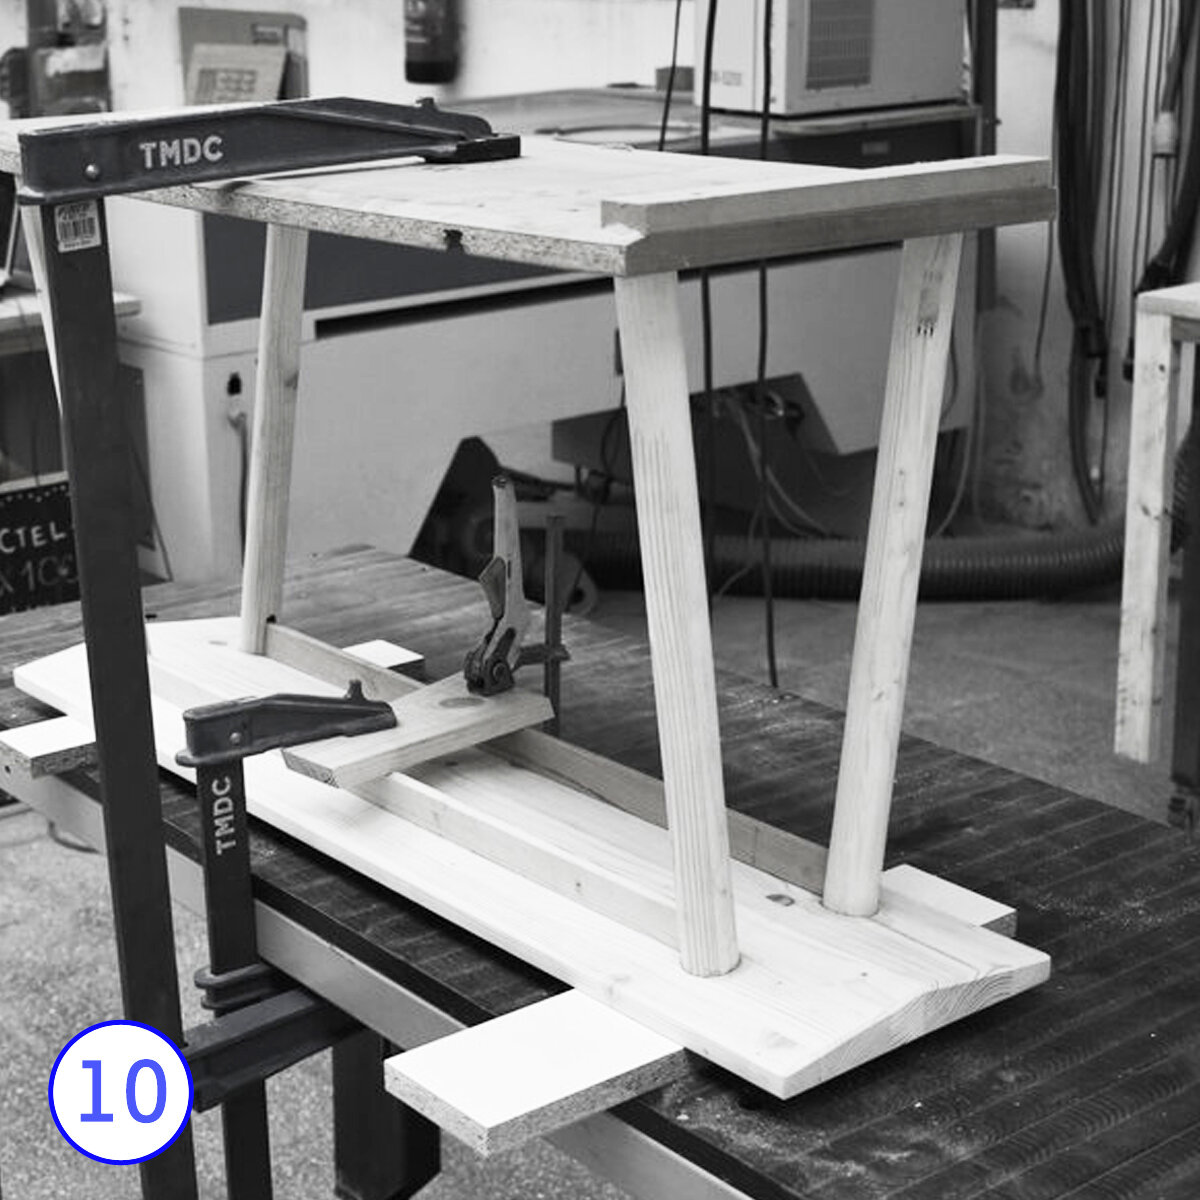
10. Glueing the support into the legs and then glueing the legs into the holes, Pablo used one large clamp with a sheet of wood cover all for legs. This meant the legs would be level with each other, avoiding any error of them setting at different heights.
A secondary clamp was used to glue the under frame to the top. This idea of the under frame was to locate the direction the legs should go into the hole as well as provide some structural support for them when glued in.
Pablo placed material under the areas where the dowel could come through, preventing this from happening.

Now you can sit down and think about the next manufacture…